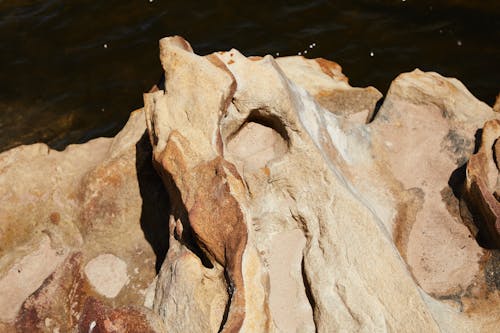
Have you ever wondered how to create a stunning dry creek bed in your backyard? If so, you’ve come to the right place! In this step-by-step guide, we will walk you through the process of building your very own dry creek bed. Get ready to unleash your creativity and transform your outdoor space into a mesmerizing oasis.
Why Choose a Dry Creek Bed?
A dry creek bed is not only aesthetically pleasing but also serves a practical purpose. It helps to manage excess water runoff, prevents erosion, and adds a touch of natural beauty to your landscape. Plus, it’s a perfect DIY project for those who love to get their hands dirty and enjoy the satisfaction of creating something unique.
Materials and Tools
Before we dive into the construction process, let’s gather the necessary materials and tools. Here’s what you’ll need:
- Shovel
- Wheelbarrow
- Landscape fabric
- River rocks of various sizes
- Native plants and grasses
- Mulch
- Garden hose
- Decorative stones or boulders
- Stakes and string
- Level
Planning and Design
The first step is to plan and design your dry creek bed. Consider the layout of your yard and visualize where you want the creek bed to flow. Use stakes and string to mark the desired path. It’s essential to create a natural-looking curve that mimics the flow of a real creek.
Excavation
Grab your shovel and start excavating along the marked path. Remove the topsoil and dig down to approximately 6 inches deep. Remember to keep the sides of the creek bed sloping gently to allow water to flow smoothly.
Laying Landscape Fabric
To prevent weed growth and maintain the integrity of your dry creek bed, lay landscape fabric on the excavated area. Make sure to trim any excess fabric and secure it with stakes.
Adding River Rocks
Now comes the fun part! Start adding river rocks of various sizes to create the bed of your dry creek. Arrange them in a way that mimics the natural flow of water. Larger rocks can be placed at the edges to create a more authentic look.
Planting Native Flora
To enhance the natural beauty of your dry creek bed, consider planting native plants and grasses along the edges. These plants are not only low-maintenance but also attract local wildlife. Choose a variety of colors and textures to create a visually appealing landscape.
Mulching
Once you’ve finished planting, spread a layer of mulch around the plants to retain moisture and suppress weed growth. This will also give your dry creek bed a more polished look.
Finishing Touches
To add the finishing touches, place decorative stones or boulders strategically along the creek bed. These will create focal points and add visual interest to your landscape. Take a step back and admire your masterpiece!
Conclusion
Congratulations! You’ve successfully created your very own DIY dry creek bed. By following this step-by-step guide, you’ve transformed your outdoor space into a captivating oasis. Now it’s time to sit back, relax, and enjoy the soothing sound of water flowing through your beautiful creation.